Edit Paths
Any shape can become a path, and any path can be reshaped node by node. This section covers the Node tool, the commands in the Path menu, and the boolean operations that build one shape out of several.
Rectangles, ellipses, stars and text are not paths yet. To edit their nodes, convert them first: Path › Object to Path (also Convert to Curves / Text to Bezier Shape in the toolbar). The shape keeps its look and becomes fully editable.
Node Tool
Section titled “Node Tool”Press N, click a path, and its nodes and handles appear.
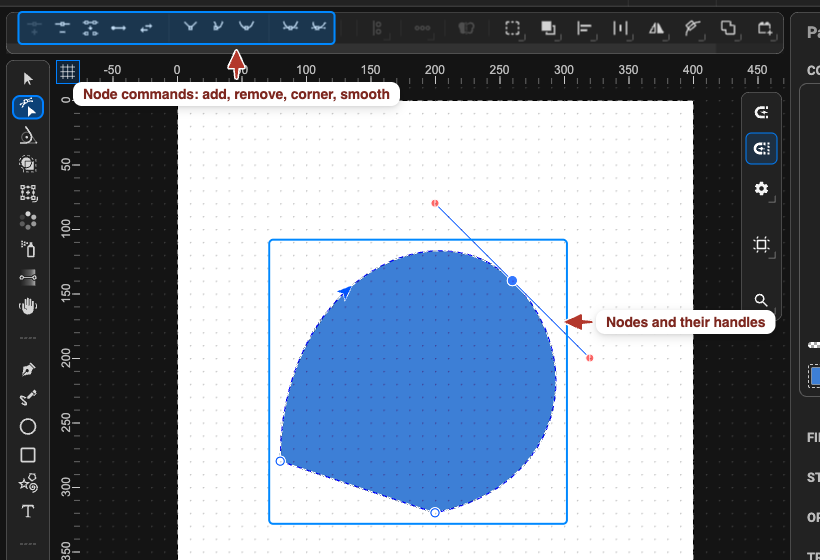
- Select — click a node; Shift + click adds or removes nodes; drag on empty canvas
draws a selection box;
Ctrl + Aselects all nodes of the path. - Move — drag selected nodes; hold Shift to constrain to 90°.
- Reshape a segment — drag the segment itself; the neighbouring handles follow.
- Handles — drag a handle to change the curve on that side of the node; double-click a handle to remove it and make the node a sharp corner.
- Add a node — double-click the path where you want it.
The Node tool works in animation too: pin a state, move nodes, and the path morphs between keyframes — see Path animation.
Node Commands
Section titled “Node Commands”With nodes selected, these live in the Path menu and in the toolbar:
| Command | What it does |
|---|---|
| Add Node | inserts a node on the selected segment |
| Remove Node | deletes the node, keeping the path shape as close as possible |
| Break at Selected Points | splits the path at the selected nodes into separate segments |
| Make Line Corner | corner node with straight segments, no handles |
| Make Curve Corner | corner node with independent handles on each side |
| Make Smooth | handles aligned, so the curve flows through the node |
| Make Symmetric | handles aligned and equal in length — a balanced curve |
| Make Asymmetric | handles aligned but with independent lengths |
| Path Start | makes the selected node the first node of the path |
| Reverse Path | flips the node order (matters for markers, trim and motion along the path) |
Path Operations
Section titled “Path Operations”Boolean operations combine whole objects into one. Select two or more objects and choose the command from the Path menu; the shapes are processed relative to the backmost object.
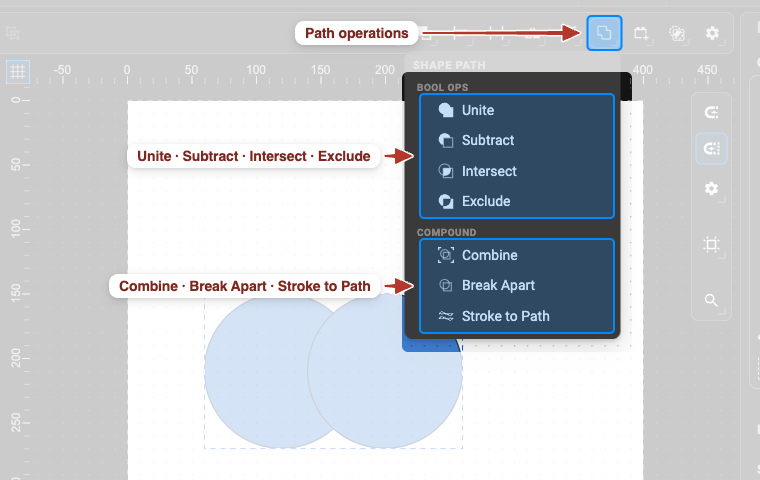
| Operation | Shortcut | Result |
|---|---|---|
| Unite | Alt + U | one shape covering everything |
| Subtract | Alt + S | the back object minus the front objects |
| Intersect | Alt + I | only where all objects overlap |
| Exclude | Alt + E | everything except the overlaps (transparent overlaps) |
| Stroke to Path | Alt + P | the stroke becomes a filled shape of its own |
| Object to Path | — | a primitive shape or text becomes an editable bezier path |
For an interactive way to do the same on the canvas, use the Shape Builder.
Combine and Break Apart
Section titled “Combine and Break Apart”Combine (Alt + K) joins selected paths into one compound path: the shapes stay separate
sub-paths (nothing is merged), but they act as a single object — and where sub-paths overlap, the
overlap is cut out (even-odd fill). Use it for letters with holes, rings, frames.
Break Apart (Shift + Alt + K) does the opposite: a compound path becomes independent paths
again.
Mirror Path
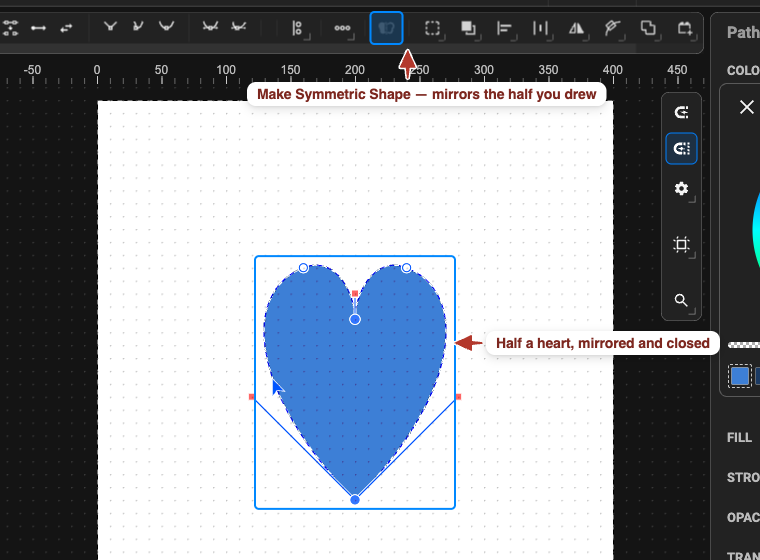
Section titled “Mirror Path”Draw half a symmetrical shape and let the editor complete it:
- Draw one half with the Pen tool, as an open path.
- With the Node tool, select the two open end nodes.
- Choose Path › Mirror Path.
The path is mirrored across the line between the two nodes and closed — ideal for icons, logos and anything symmetrical.
Align and Distribute Nodes
Section titled “Align and Distribute Nodes”With several nodes selected, the Path menu aligns them — Left · Center · Right · Top · Middle · Bottom (to the outermost selected node or the centre) — and distributes them evenly Horizontally or Vertically. The same buttons are in the toolbar of the Node tool.
Next
- Turn strokes into draw-on animations: Trim stroke.
- Morph one shape into another: Path animation.